Eat these little gems for breakfast, lunch, and dinner.
I love flipping through old cookbooks and trying out recipes from the past. So, when I stumbled across a recipe for "corn gems" in the 1920s Corn Products Cookbook, featuring products by Kingsford’s corn starch and Karo corn syrup, I knew I had to give it a try. It's now my new baking obsession.
This was the first time I had heard of corn gems, and, as is common in many antique cookbooks, this recipe doesn’t divulge any clues nor offer tips on equipment, oven temperature, or bake time. In other words, I had to do a little research before getting started. Here’s what I learned and why I’m hooked.
What Are Corn Gems?
I’d never given a second thought to the origins of the muffin pan. But as it turns out, the predecessor to the modern muffin pan was patented in 1859 by Nathaniel Waterman, a Boston inventor known for his many household and kitchen innovations. Waterman described the pan as having cups, connections, and handles made from a solid piece of cast iron that formed “a new or improved cooking utensil of great value in cooking eggs or baking bread or cakes in a uniform manner.”
The pans became popular for baking small, dense cakes, including cornmeal-based breads that were soon coined "corn gems" for their small size. And Waterman’s rough, heavy-duty pans were essential for achieving thick, crisp crusts.
How to Make Corn Gems
The recipe calls for cornmeal, all-purpose flour, cornstarch, baking powder, baking soda, salt, buttermilk, corn syrup, eggs, and butter "the size of an egg,” which I converted to an entire stick of butter after my first batch came out dry (I also doubled the amount of corn syrup to make them a bit sweeter). And because I don’t use buttermilk enough to justify buying it at the store, I made my own by adding a couple of tablespoons of fresh lemon juice to milk and letting it sit for about 15 minutes.
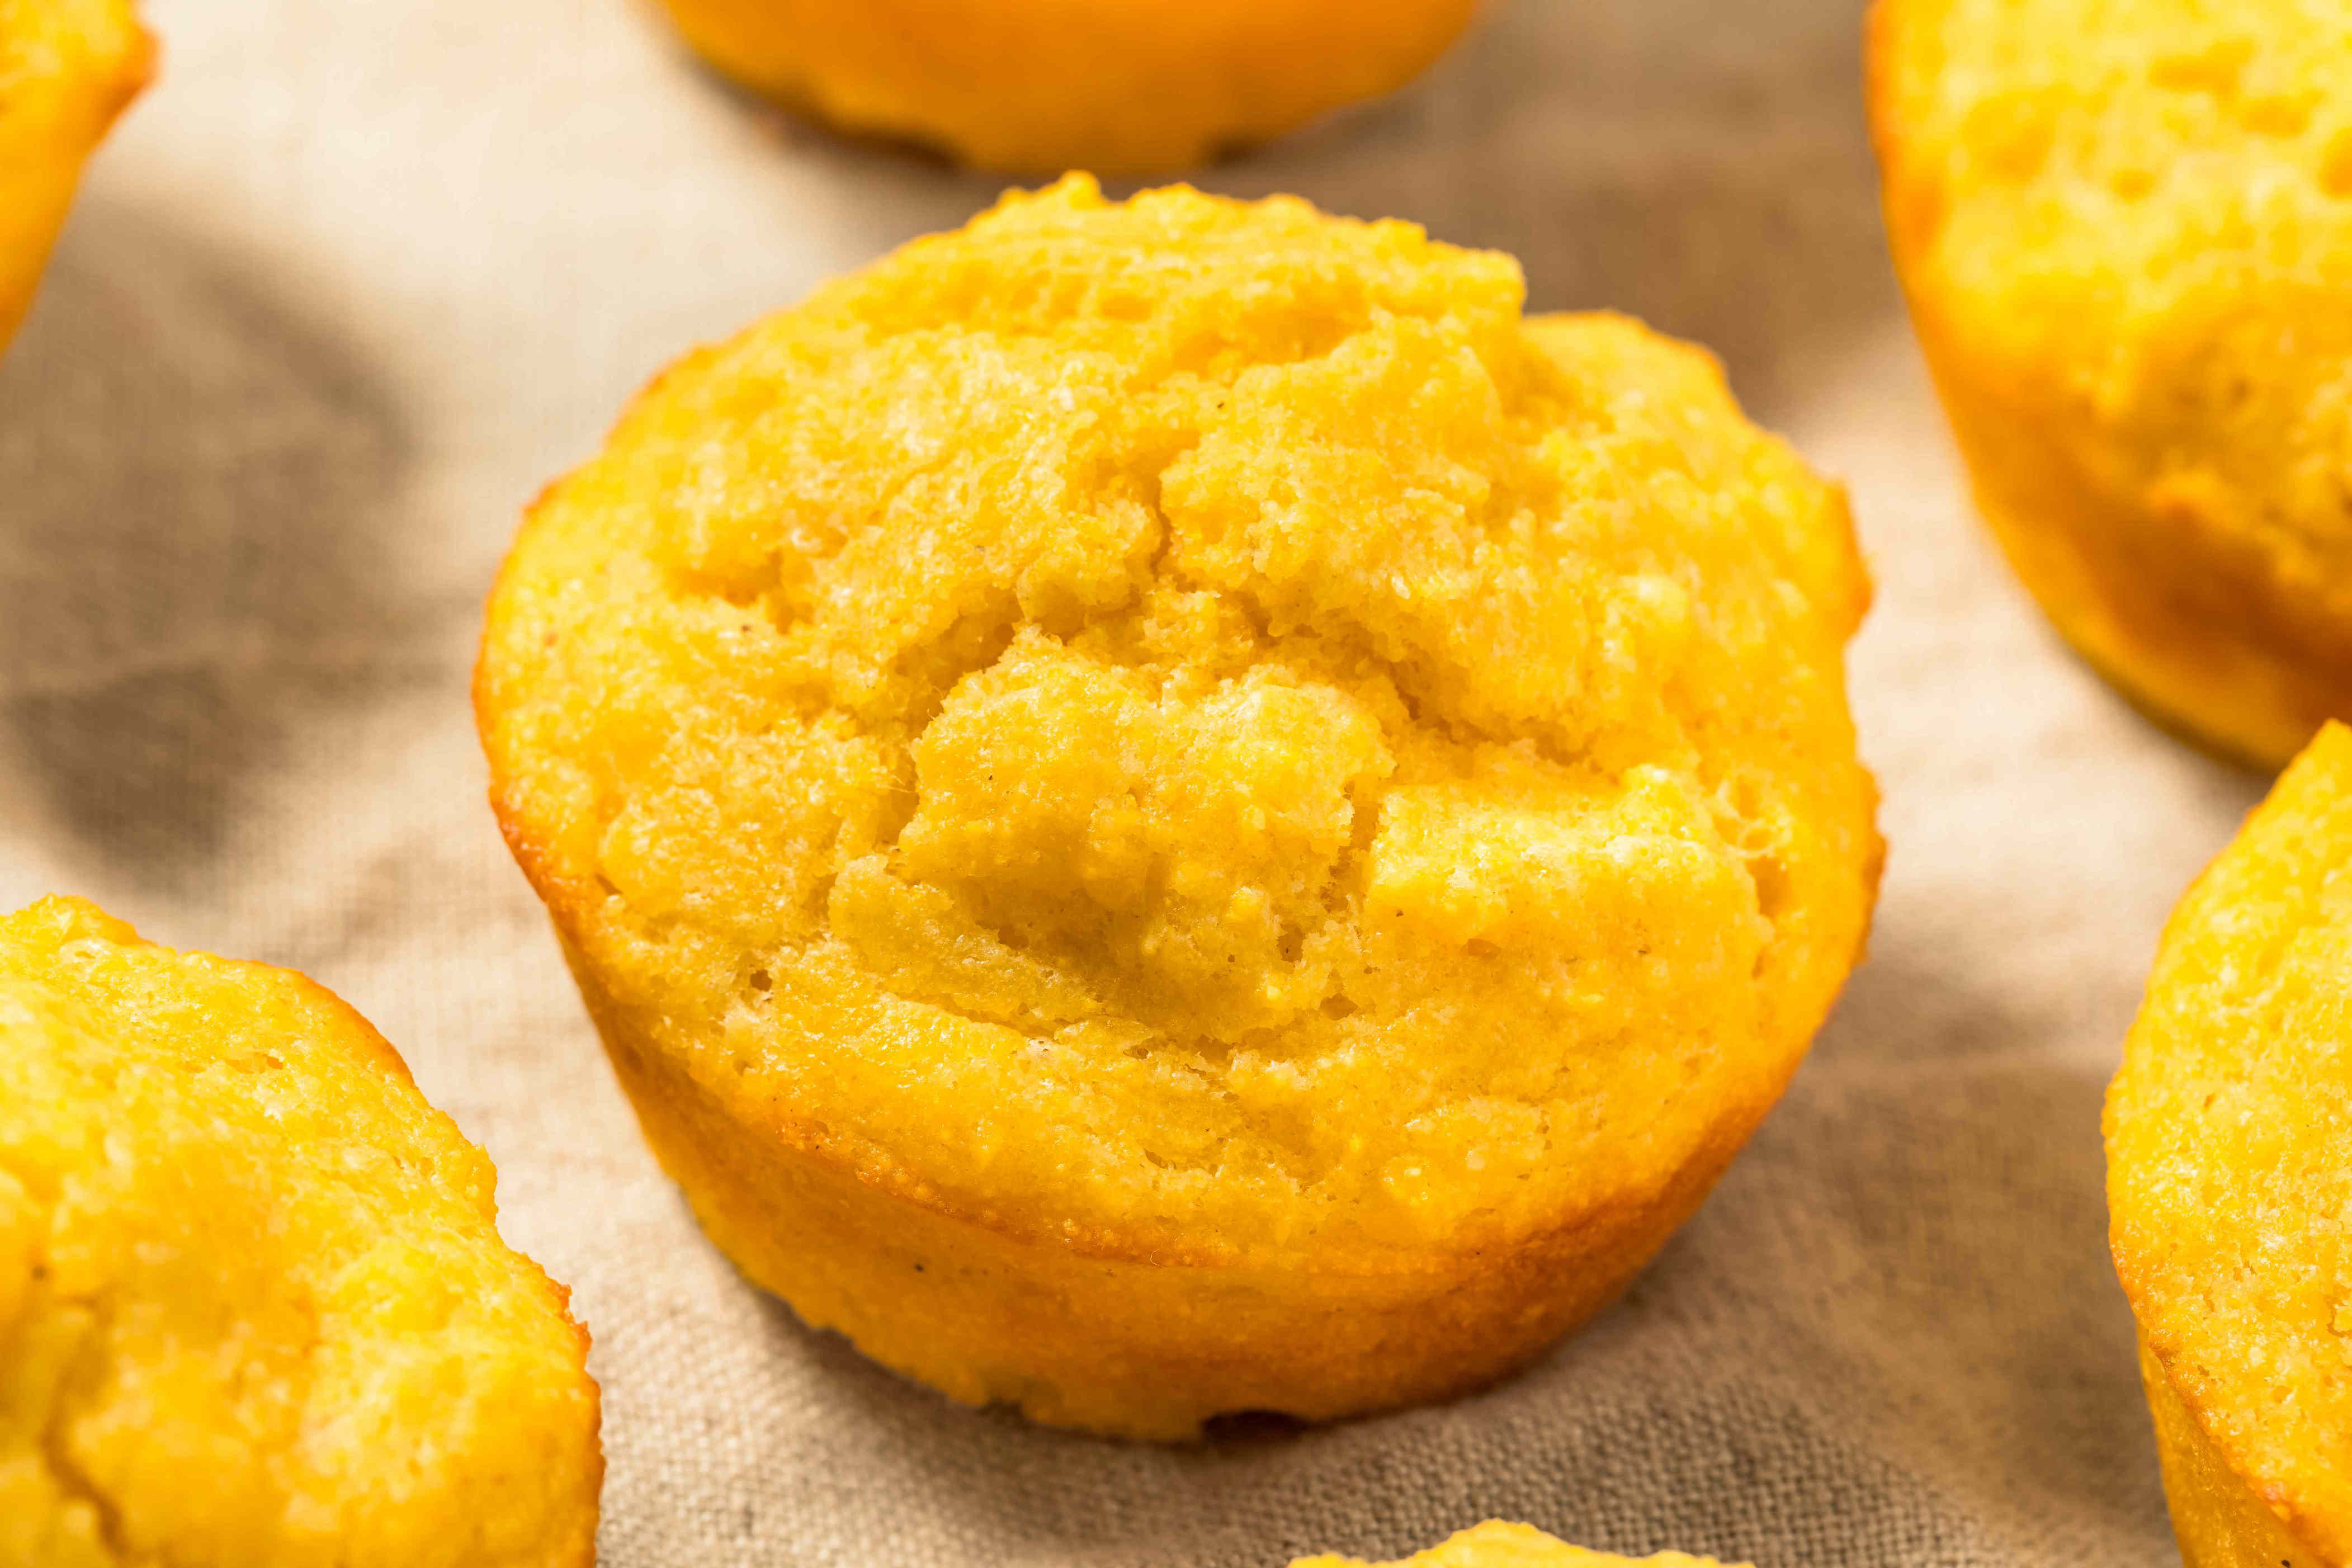
After the batter was ready, I generously greased the cups of a cast-iron muffin pan with butter, then used an ice cream scooper to fill them a little more than halfway. Since the recipe doesn’t say anything about oven temperature or bake time, I guessed and went with 350 degrees for 15 minutes, which luckily yielded crisp exteriors and moist interiors.
If you don’t have a cast-iron muffin pan, you can use a cast-iron skillet. An aluminum or stainless steel muffin pan also works, but I recommend heavily greasing the cups if you want to get the same crunchy exterior. Either way, letting the corn gems cool in the pans for a few minutes makes them easier to remove without them falling apart.
Why I’m Hooked on This Old-Fashioned Recipe
These corn gems have a subtle sweetness plus a crunchy-meets-moist texture since they contain more cornmeal than most cornbread recipes. I find this combination pretty hard to resist.
I also appreciate that they’re easy to make and versatile enough to eat with different meals. I do most of my baking in the evening, so my family has enjoyed them fresh out of the oven alongside a bowl of chili for dinner, and again at breakfast with honey butter and jam. They also keep quite well when cooled and stored in an airtight container, making them a filling, quick snack we can reach for at any time of day.
Get Recipe with Title: Corn Gems
Read the original article on Simply Recipes